Has anyone had a positive experience with this?
I’m having a miserable time.
Hello and thank you for being a DL contributor. We are changing the login scheme for contributors for simpler login and to better support using multiple devices. Please click here to update your account with a username and password.
Hello. Some features on this site require registration. Please click here to register for free.
Hello and thank you for registering. Please complete the process by verifying your email address. If you can't find the email you can resend it here.
Hello. Some features on this site require a subscription. Please click here to get full access and no ads for $1.99 or less per month.
Has anyone had a positive experience with this?
I’m having a miserable time.
| by Anonymous | reply 18 | November 13, 2019 7:47 AM |
Donald Trump, is that you?
| by Anonymous | reply 1 | November 12, 2019 3:20 PM |
I hate that stuff. I had to keep buying more and more and it never got all the paint off with that stuff. I ruined a wooden door. It's useless. Sorry to say.
| by Anonymous | reply 2 | November 12, 2019 3:23 PM |
Very, very oily.
| by Anonymous | reply 3 | November 12, 2019 3:30 PM |
I tried using mineral spirits but discovered I’m allergic to it. So, I’m back to the goo. And I feel like I’m in the 3rd circle of Hell. I didn’t think I’d find something new that I hated this much. I never want to strip paint again. Ever
| by Anonymous | reply 4 | November 12, 2019 3:50 PM |
After applying it, you need to cover it with plastic and leave it on overnight. It's a lot weaker than the VOC-laden strippers.
| by Anonymous | reply 5 | November 12, 2019 3:55 PM |
I’ve used it before. If you use it, do it in a warm room. It doesn’t work as well in the cold. The warmer the temp, the better it’s going to work. Look at the label. There’s a bottom temperature, below which it’s not really recommended.
When you’re through, you have to get the orange stuff out of the grain. Use a metal brush, brass is good. They have them in the painting department. They look like metal toothbrushes.
If you have a piece and it’s got a lot of layers of paint and finish, especially poly coats, you may have to peel it one or two coats at a time. Usually if it’s just paint, most of it will come off the first time, although you probably need to do it twice to get it all. Use the metal toothbrush in all the carved decorated areas. Go with the grain. It’s good to have a couple of extra tools if there’s carving. A good one is one of those metal scaler things you use to clean plaque off your teeth. A small flathead screwdriver for lifting peeling paint out of corners is good too, but be gentle.
For the final cleaning, use an regular old toothbrush.
Put lots of drop cloths down, wear gloves that are made for stripping, and buy several pairs. They will tear at some point and you’ll need another pair right in the middle of what you’re doing. I usually wear two pairs, one inside the other. They still tear. STOP when they tear, don’t finish! I’ve peeled my whole hands off numerous times. Wear shoes you can take off easily with closed toes, like clogs.
If it’s cold where you are, it’s not going to work well. I do most of my furniture stripping in spring and fall. Too hot and it dries super quick. Too cold and nothing happens.
| by Anonymous | reply 6 | November 12, 2019 4:15 PM |
For best results, after you get as much paint off as you can, before the piece dries, run over it again with pain thinner or tsp. This helps get the loose stuff.
Also, buy an empty metal paint can for storing the used dirty rags. Put water in it and close the lid. Or spread the rags out flat on the plastic drop cloth, apart from each other, until they’re dry. They are flammable.
This sounds like a pain in the ass, but if it’s an old piece there’s lead paint. Do not sand lead paint in your house. Stripper only, and keep it wet. Throw away the rags, drop cloths and all. Don’t even sand lead paint outside, it will get in the dirt.
| by Anonymous | reply 7 | November 12, 2019 4:25 PM |
I should also say, if you’re working with a very fine grain, high grade wood with large flat areas, particular on the front, be careful using a metal brush because you may scar it. In that case, use a plain toothbrush.
If it’s veneer you should also be careful. A lot of veneers, particularly the Art Deco era, are really decorative and may be rare woods.
If it’s oak or some open grain, coarser wood, metal brush is fine.
Also, if it’s got some veneer damage, Home Depot sells veneer sheets. But they’re a common wood, and if you’re a novice, that’s a last resort. If you’re looking for a burled wood veneer replacement or something like that, you’re going to have to look elsewhere.
| by Anonymous | reply 8 | November 12, 2019 6:18 PM |
I'm working on a door frame. It has a lot of…shapes, insets and carvings and it's a fucking a nightmare.
| by Anonymous | reply 9 | November 12, 2019 6:24 PM |
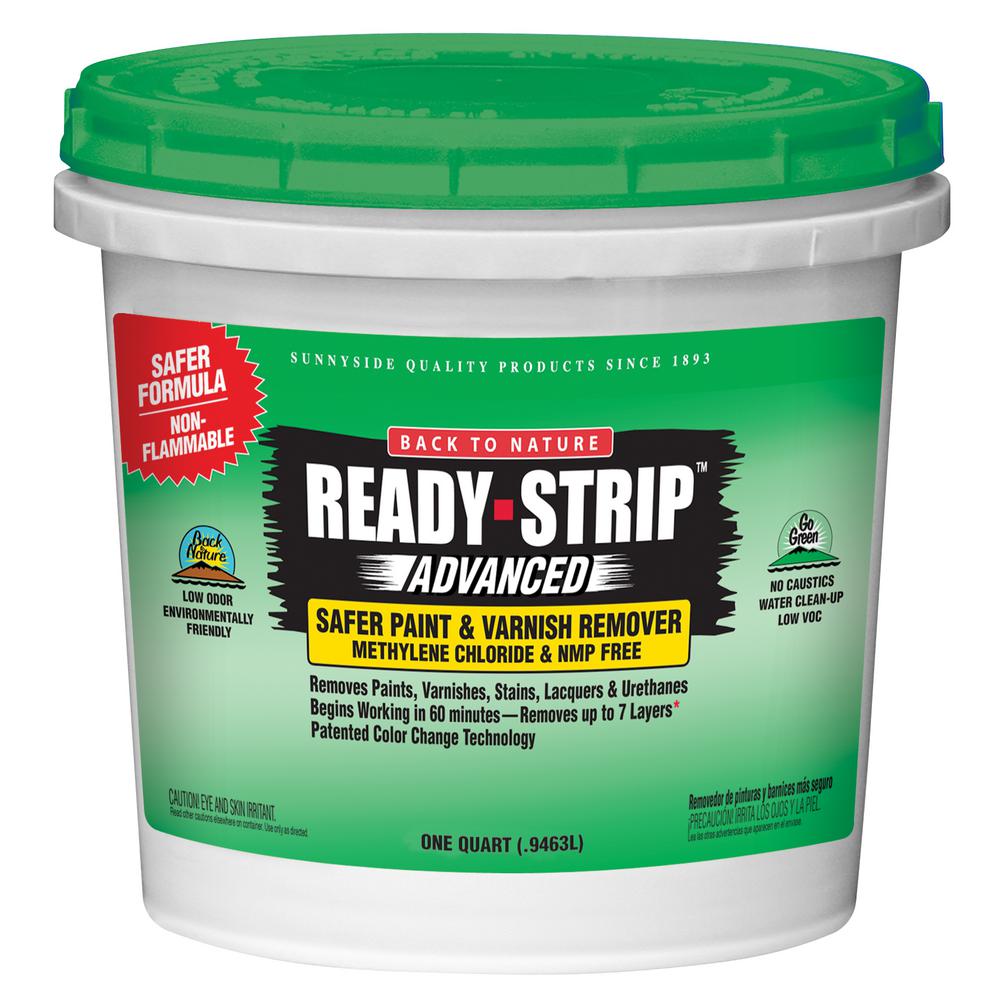
I used this on my front door frame, it worked pretty well.
| by Anonymous | reply 11 | November 12, 2019 8:19 PM |
I’ve used that too. I went back to orange stripper because the green stuff was harsher and I didn’t need it. It does work though.
In between coats, use a lot of water and just wipe it down with a wet rag or toothbrush. The paint is loosened and even water will rinse a lot more of the paint scum off. So, stripper, remove as much as you can, then tsp, remove as much as you can (which will be a surprisingly large amount), water, then stripper again, repeat.
| by Anonymous | reply 12 | November 12, 2019 8:28 PM |
Forgot to mention, if you wear eyeglasses, Orange stripper can strip the color right off your plastic glasses. Check them every so often, and wipe, then rinse them immediately if you get it on the frame. If you don’t wear glasses, wear goggles! You do not want that shit in your eyes.
| by Anonymous | reply 13 | November 12, 2019 8:34 PM |
If you’re working with wood carving, I’d also suggest wooden toothpicks for all the detail work. Get a lot, they don’t last very long.
| by Anonymous | reply 14 | November 12, 2019 8:44 PM |
Thanks for all the tips and suggestions. If I’d known ahead of time how labor intensive and how long this was going to take, I would have just painted over the ugly paint. but I have this problem where I like to just figure things out as I go along and so never look anything up until I get myself in a jam. Or a jamb, as it were, in this case. What’s interesting is that I’ve discovered there’s an actually kind of nice stain on the wood under the hideous brown paint. The color of the paint is why I started this and, partially, why the experience is so awful because it just looks like dripping shit I’m scraping off into cans, etc. It’s ugliest brown ever invented. They should have a zapper that just changes the molecules so a different color is reflected.
| by Anonymous | reply 15 | November 13, 2019 6:44 AM |
It will leave a residue. Spray with denatured alcohol after you're done and wipe down good.
| by Anonymous | reply 16 | November 13, 2019 6:55 AM |
It might just be my third nightcap hitting, but I really love you bitches. Some great advice here.
I would watch the fuck out of a Datalounge Home and Garden Channel.
*Hic*
| by Anonymous | reply 17 | November 13, 2019 7:37 AM |
I use loofa and facial scrub but the orange no come off fat turd
| by Anonymous | reply 18 | November 13, 2019 7:47 AM |
Yes indeed, we too use "cookies." Take a look at our privacy/terms or if you just want to see the damn site without all this bureaucratic nonsense, click ACCEPT. Otherwise, you'll just have to find some other site for your pointless bitchery needs.
Become a contributor - post when you want with no ads!